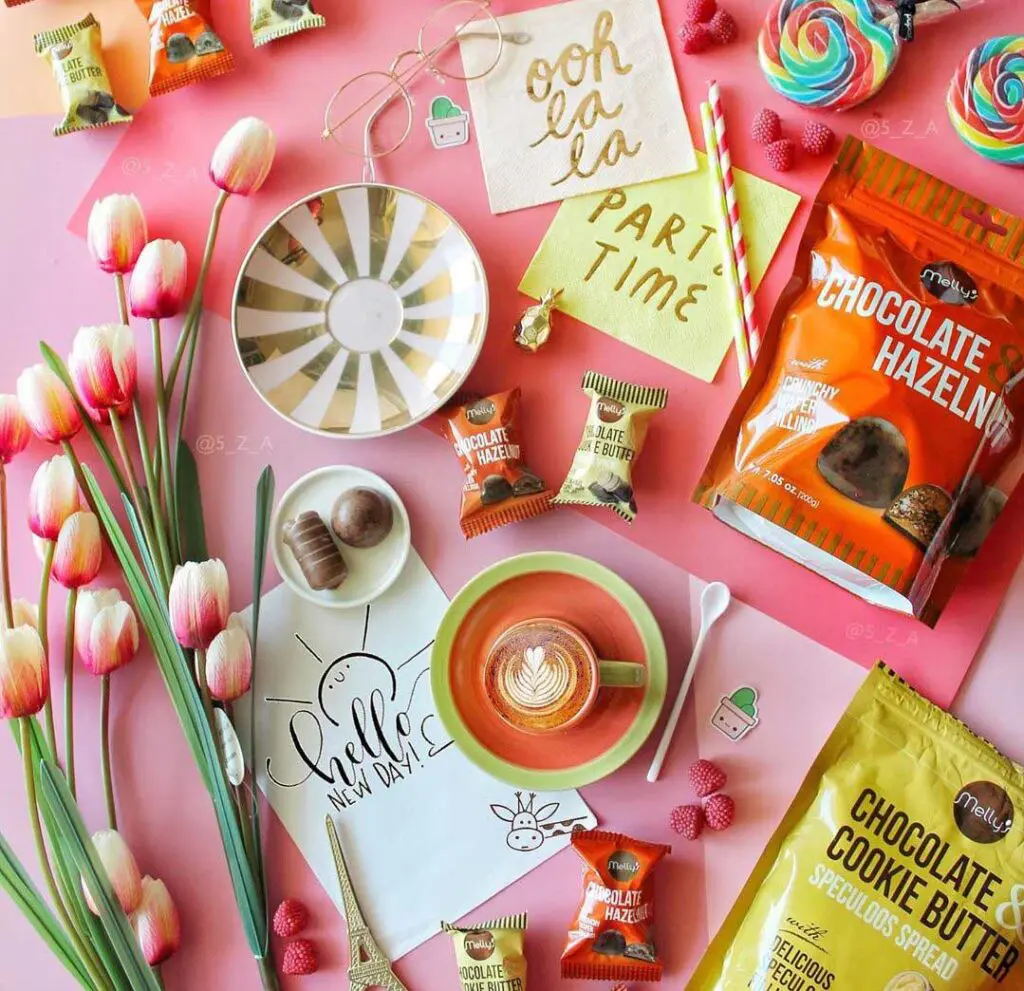
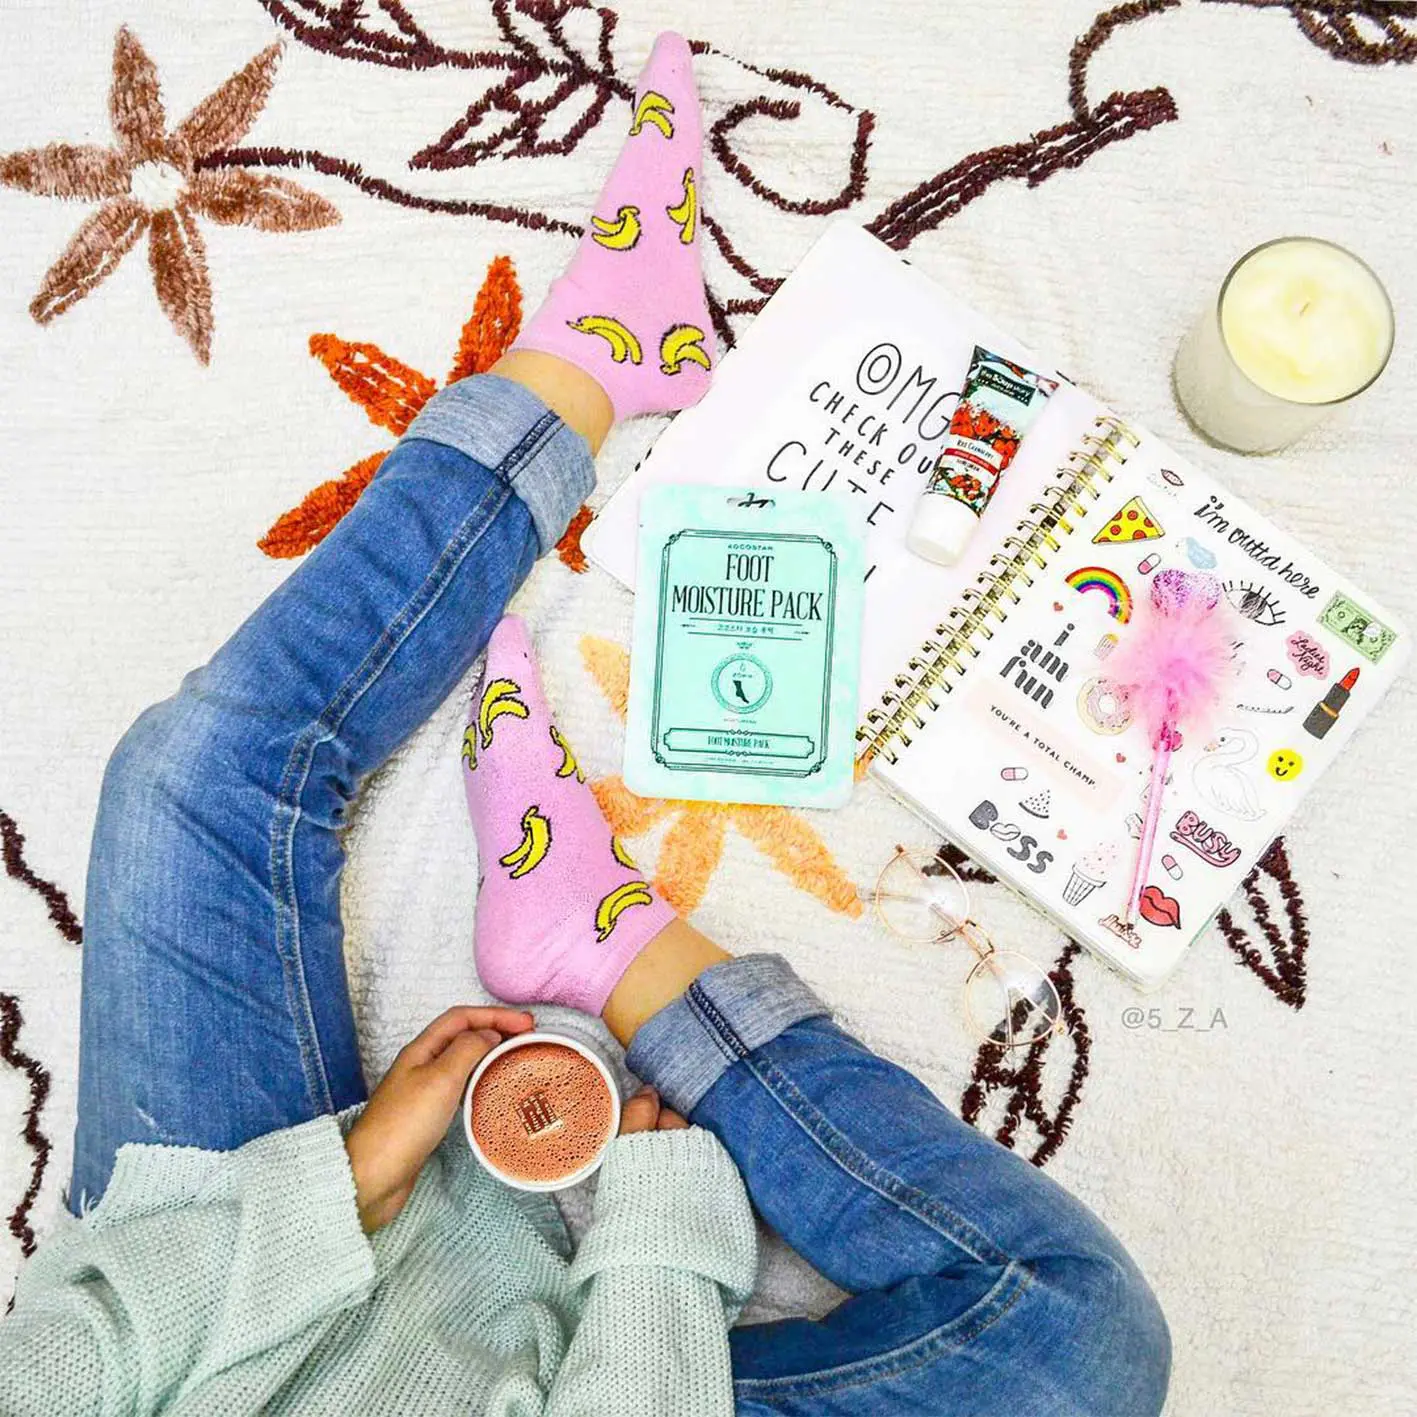
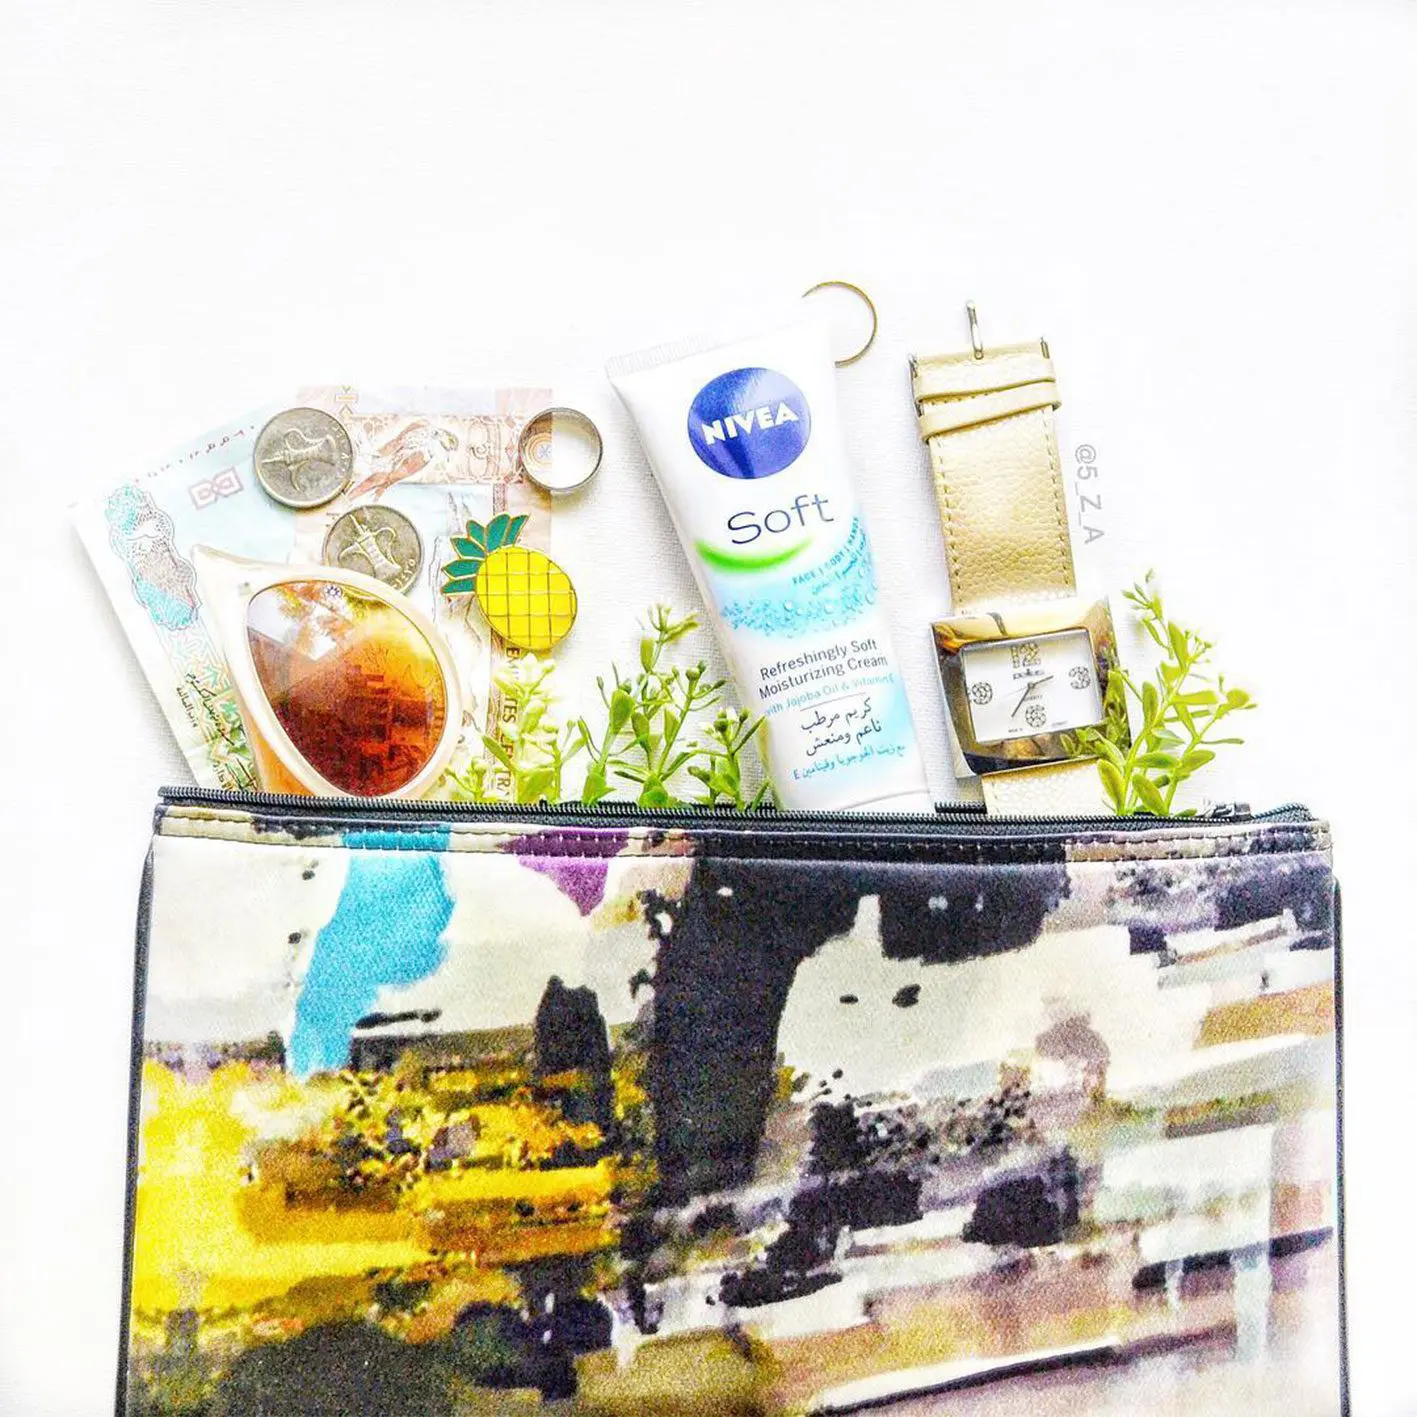
Faeza 5_z_a is a digital marketer and content creator. Her feed is filled with beautifully colourful imagery, but it is her intricate flatlays that really caught our eye. Here, Faeza shares the five golden rules she follows when creating still lifes for brands like Nestle, Nivea and Mellys Chocolate.
Take your time
It can take me well over an hour to shoot a flatlay. On average I’d say 30-45 mins are spent putting it together, then another 20-30 mins are spent nailing the details. Even the spacing between objects can make a big difference, so it can’t be rushed. Sometimes getting a second or third opinion can be helpful. They might be able to see details you have missed because you’ve been looking at it for so long. If possible, take a little break and come back to observe the image from a fresh perspective.
Build a solid prop collection
In a flatlay, it’s the little details that really make your hero product stand out. If you look at some of your favourite flatlays from content creators you admire, you might recognise similar elements cropping up. That’s because they have a prop collection. You can make one too, just look around at your desk for props. Things like clips, scissors , notebooks, USBs, glasses, books and sticky notes can all elevate your arrangements. The possibilities are endless and it’s the easiest way to compliment the hero product you are shooting.
Give yourself space
I cannot stress this enough, find an empty corner to create your content. If I am shooting in a cramped space, naturally I am limited to what I can do and in my experience, moving location can make a big difference. Make some space that is ideally close to where you get plenty of natural light and can see your flatlays from a 360-degree view.
Make sure every item adds value
I love colours, but you need have a colour scheme. I know you hear that all the time, but I feel every colour should add real value to your image.
I start with what colour background would compliment the hero product, then add in all props I think would work.The next step would be to shoot it from a stationery camera or phone and observe the image and props. Now really try looking at each prop on its own and see if it makes or breaks that image. If something isn’t working for you, remove that particular product and shoot again. Better? Repeat, removing one at a time and you should find flatlay perfection.
Experiment to find your style
There are so many different types of flatlay styles out there. It’s an extremely versatile sub-genre of still life. You can be a minimalist and only have one product within a well planned composition. Or you can have an elaborate flatlay forming a sort of organised chaos. Finding you niche is important in order to stand out and discover the kind of photographer you want to be.
If in doubt – just add coffee
Coffee is my go-to object for any flatlay. Every time I am stuck or don’t really know what to shoot, my first thought is to add coffee. Coffee just elevates your flat lay. Next time you create a flatlay I’d recommend setting out as you usually would, then add a cup of coffee. Take a before and after and see which one you prefer!

