Instagram’s hinted at a change in focus from images to videos. According to the Head of Instagram, Adam Mosseri, “We’re no longer a photo-sharing app.”
To meet the demand of short-form video fans and to compete with TikTok (which Mosseri calls “huge competition”) Instagram is putting more focus onto video, and launching Reels was just the beginning. So is it time to up your video game?
Stop motion is an animated filmmaking technique that’s an innovative and engaging way to tell a story or promote a product. Just the type of skill you’ll need in order to keep up with Instagram’s new video focus and retain an engaged audience. Whether you’re a beginner wanting to learn how to get started, or a veteran looking for fresh ideas, this blog is for you.
We spoke to two of Vamp’s top stop motion creators, who have worked for brands like Sheridan Australia and Hendricks Gin, for their trusted knowledge and pro advice on how to shoot an engaging stop motion in five steps.
#1 Create a simple shooting kit
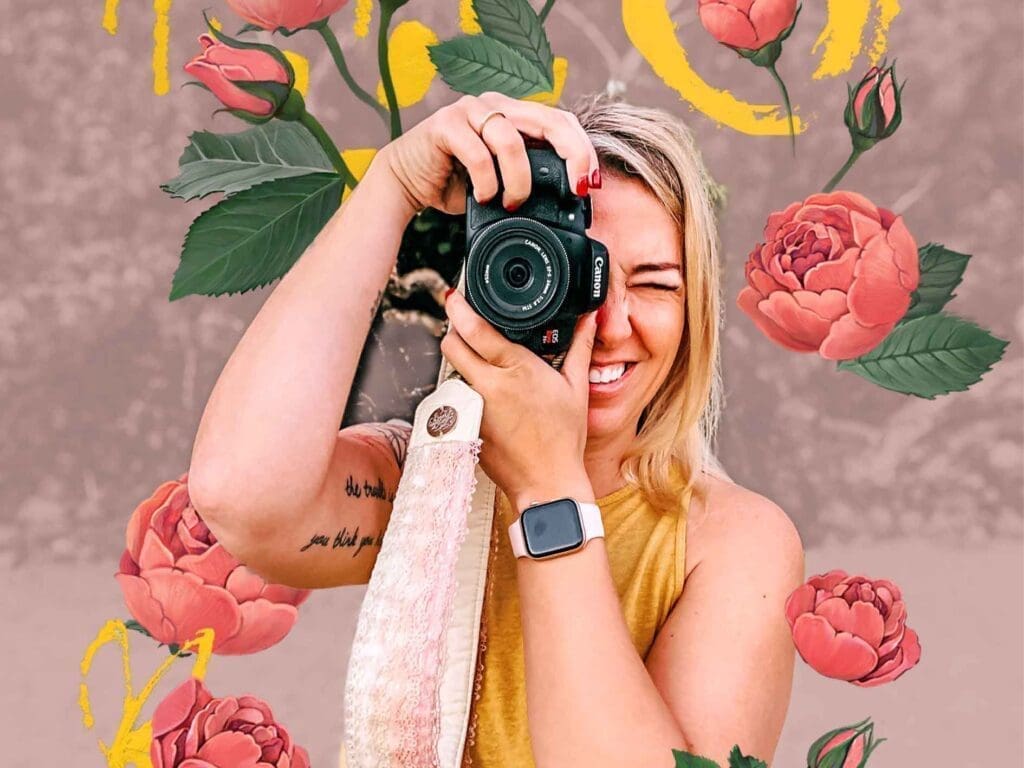
Before you start shooting, you’ll need to create a kit. A good kit, that’s suited to your needs and skill set, will help you to shoot high-quality content and capture your creative vision. Something to shoot with, a tripod to hold your camera steady, an artificial light if you don’t have any natural light and an editing app you’re comfortable with using is a great kit to get started with.
The very talented @paulpayasalad’s stop motion kit includes his ergonomic Fujifilm X-T4 camera, a tripod to match, a continuous light – either the Godox SL-60w for food and products or the Godox FV200 Hybrid for interiors and furniture – and Photoshop and Premiere Pro to edit.
When stop motion queen, @kopperfinch was shooting at home before getting a studio, her kit included her trusty Sony a7rii, a tripod to match, a speedlight and reflector and whatever backgrounds and props she had access to that worked with her idea.
#2 Find your inspiration
Searching for inspiration will help you discover new editing techniques, styling tips and creative storylines. “My inspiration comes from observing life and nature because you want to make the movements as realistic looking as possible. If a leaf is ‘falling’ it’s going to flutter back and forth down a page, if a bottle is rolling into a flatlay set up, it’s going to ‘bump’ into something and roll back a little so I take the time to add those small movements and details.” Says @kopperfinch.
@paulpayasalad turns to other creators he finds inspiring on Instagram. It’s also beneficial to watch different types of stop motion videos on YouTube, TikTok, Reels and even TV – @kopperfinch always loved claymation shows as a kid. Pingu & The Trap Door were her faves.
#3 Plan your time wisely
As much as we’d love for your stop motion to be completed in two steps; shoot and edit, that’s just not the reality of it. This videography technique requires lots of your time and prep work to be successful. @kopperfinch says “It can take me anywhere between 2hrs and 2 days to create. More often the latter! It just depends on how many frames I need to shoot to tell the story and how complex the styling is.” And @paulpayasalad seems to experience the same thing. “For 15-30 second videos, it can take me anywhere between half a day to a full day to shoot. And 30-60 second videos usually take me about 2 days.”
This is why it’s important you do all the necessary prep work, before you start shooting, to avoid lengthening the process any further. A great tip is to create a moodboard and storyboard. Your moodboard will include all of your inspiration for the storyline and theme. And your storyboard will help you map out how your stop motion will play out. These will allow for a smoother shoot day as you’ll know exactly what you need to shoot, and how.
You’ll also want to schedule your shoot. Make sure you factor in things like:
- Gathering all your equipment and props.
- Setting up your shoot location.
- Performing lighting and camera tests.
- Shooting your story board in intervals.
- Taking breaks.
- Making post-production edits.
@paulpayasalad says his schedule “looks something like this.” And @kopperfinch’s looks a little something like this: Concept and sketches > storyboard > collect and prepare > style > shoot > edit > finalise.
#4 Start shooting (outside the box)
The process of shooting a stop motion is fairly simple – set your opening scene, take a photo, move an object, take a photo, move another, take a photo, and repeat until you’ve finished your entire scene. But there are multiple different types of techniques you can experiment with to create an interesting and extraordinary stop motion.
@paulpayasalad suggests learning techniques such as claymation, cutout-motion, pixilation and silhouette animation to use in your stop motion videos. He also recommends, “Learn how to shoot a time-lapse because it’s another version of a stop motion.” Shooting a time-lapse is the same concept as a stop motion, except you don’t need to move anything while shooting, the world around you does that for you. He advises experimenting with techniques such as the holy grail time-lapse, hyper-lapse and focus pull time-lapse. “The techniques you use are up to your imagination. You can even use multiple different types in the one video, just like I did here.”
#5 Prepare for some serious editing
Editing your stop motion together is where the magic happens. Apps like Stop Motion Studio, Life Lapse Stop Motion Maker and Adobe Rush are simple and easy to use if you’re looking for a quick way to edit on your mobile. A more in-depth and intricate editing process will require more of your time and multiple softwares.
@paulpayasalad will, “Crop everything in post-production because even though most cameras shoot in 2k – 4k, you only need your video to be 1080×1920 for social media. I’ll then colour grade the images individually in Photoshop, which gives me full control and more flexibility over my content. I then stitch all of my frames together in Premiere Pro, where I also like to play around with the speed of the stop motion. My final step is another round of colour grading in VSCO to add those final touches.”
And for @kopperfinch, “Editing can be quite time-consuming, as you should go through each shot individually to make sure nothing’s there that shouldn’t be. The main things that I have to edit out are styling helpers like blu tack, tape and my own hands! When you’re trying to be quick you can forget that you’ve left something in the frame and it always serves as a lesson I’m always re-learning; if you get it right in camera, you save yourself time later on.”
Some final words of advice
Watch heaps. Watch stop motion films, Instagram Reels, TikTok videos – the works! Combine the knowledge you learn from them with what you can do right now. Then just do it. Don't hesitate. You will learn from your work, not from thinking, “What if?
You don't need a fancy setup to get going, even shooting on a phone is fine if you have an app to put it together. Have a play with it and you'll figure out your own style and the methods that work for you the more you do it. Also, come prepared with a lot of patience (you’ll need it) and your tripod - it’s one thing I can’t shoot without. If you accidentally nudge a sturdy tripod halfway through your stop motion, it's a little less heartbreaking!
Learn more from @paulpayasalad here and learn more from @kopperfinch here.
Want to join Vamp’s global community of creators? Download our app to apply.
![]()
![]()